
Contents
- Which teddy bear should you make first?
- What fabric should you use for a teddy bear?
- What do you need to make a teddy bear?
- How does a teddy bear pattern work?
- How do you sew a teddy bear, step by step?
- How do you stuff a teddy bear properly?
- How do you make a teddy bear that is safe for a baby?
- Why does a handmade plush mean so much?
- Your questions about making a teddy bear
- Sources
How to make a teddy bear, in short: start with a simple bear pattern of four to eight pieces and a soft fabric that does not fray, such as fleece or minky. Trace it on the wrong side with a 7 mm seam allowance, embroider the face first, sew right sides together leaving a gap, turn out, stuff in small tufts and close with ladder stitch.
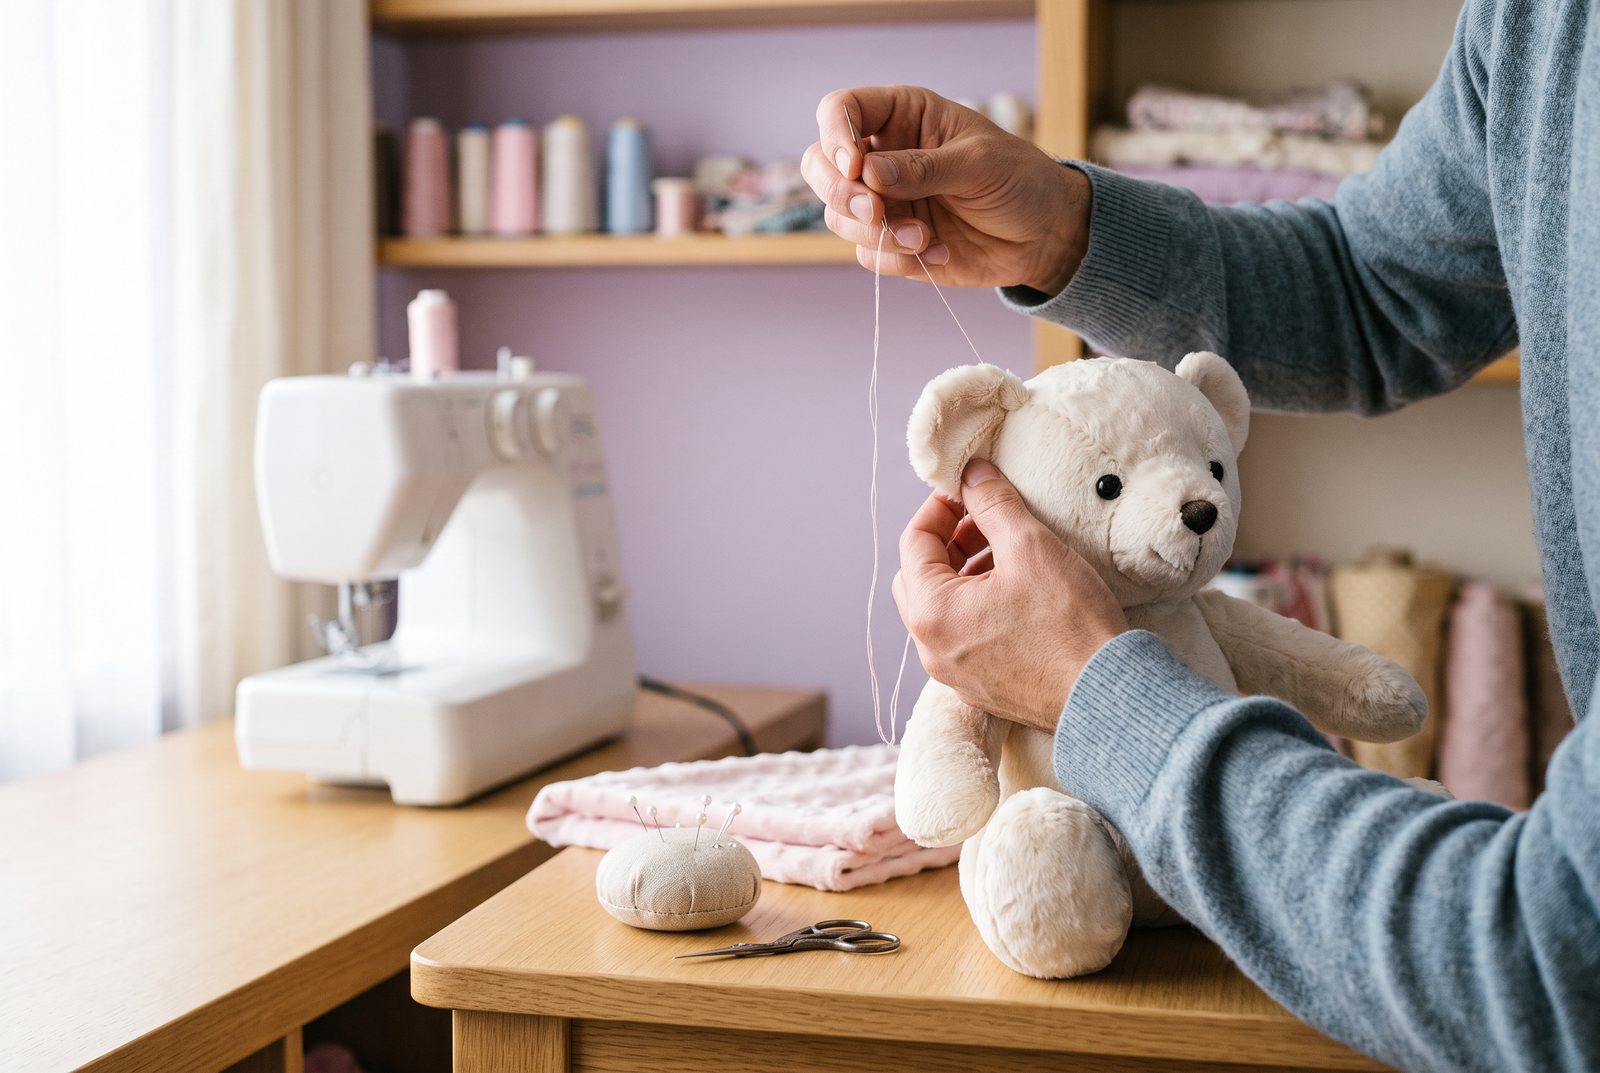
A homemade teddy does not need to be perfect to be loved for decades. Plenty of families in Ireland have a “memory bear” sewn from a grandparent’s shirt or an old jumper, and it is the stitches, not the symmetry, that people remember. Here is how to choose your first model, cut it, sew it and make it safe for a baby.
Which teddy bear should you make first?
Difficulty is not about size but about the number of pieces and the curves. A round shape with no thin limbs works first time.
Four models, from simplest to most technical
For a first go, the two-piece flat bear is the best compromise: it already looks like a teddy and has only two pieces. Draw it with a round head, wide ears and arms and legs at least 3 cm across. Any narrower and the tube becomes impossible to turn. If you want a shape to copy, look closely at our teddy bears: notice where the seams run on the head, how far apart the eyes sit and how the ears are set into the seam.
What fabric should you use for a teddy bear?
Two questions are enough: does the fabric fray when cut, and does it have a pile? Without fraying, uneven seam allowances are forgiven; with a pile, the fabric is softer but slides under the needle and must be cut in one direction.
| Fabric | Feel | Difficulty | When cutting | Best for |
|---|---|---|---|---|
| Polar fleece | Soft, warm, light | Easy | Does not fray, stretches a little | First plush, everyday comforter |
| Minky (short-pile polyester velour) | Very soft, short dense pile | Medium | Slips, sheds fibres, has a pile direction | Cuddly comforter, new-baby plush |
| Felt | Firm, no pile | Very easy | Does not fray at all | Faces, small appliqué pieces, decorative plush |
| Woven cotton (poplin, cotton drill) | Smooth, cool | Easy | Frays, does not stretch | Simple patterned shapes, flat comforter |
| Towelling or terry velour | Fluffy, absorbent | Medium | Frays, sheds loops | Baby comforter that goes in the wash often |
| Shirting, jumper or jersey from old clothes | Familiar, full of memories | Medium | Stretches or frays, needs interfacing | Memory bear sewn from a loved one’s clothes |
| Long-pile faux fur | Realistic, full | Hard | Fibres fly, cut from the back | Bear, realistic animal, not for a baby who chews |
For a first try, fleece forgives almost everything. Minky gives the loveliest result, at the price of more careful assembly. For a memory bear, a shirt, a cardigan or an old jumper keeps a story the whole family recognises, provided you stabilise knits and thin cottons with a light iron-on interfacing on the back. A felted wool jumper, washed hot on purpose so it stops fraying, also works well.
Wash cotton and towelling before cutting: they shrink in the first wash, and your plush would warp with them. Polyester fleece and minky barely move. Note down what each fabric is made of too, since no label will remind you when it is time to wash the teddy for the first time.
What do you need to make a teddy bear?
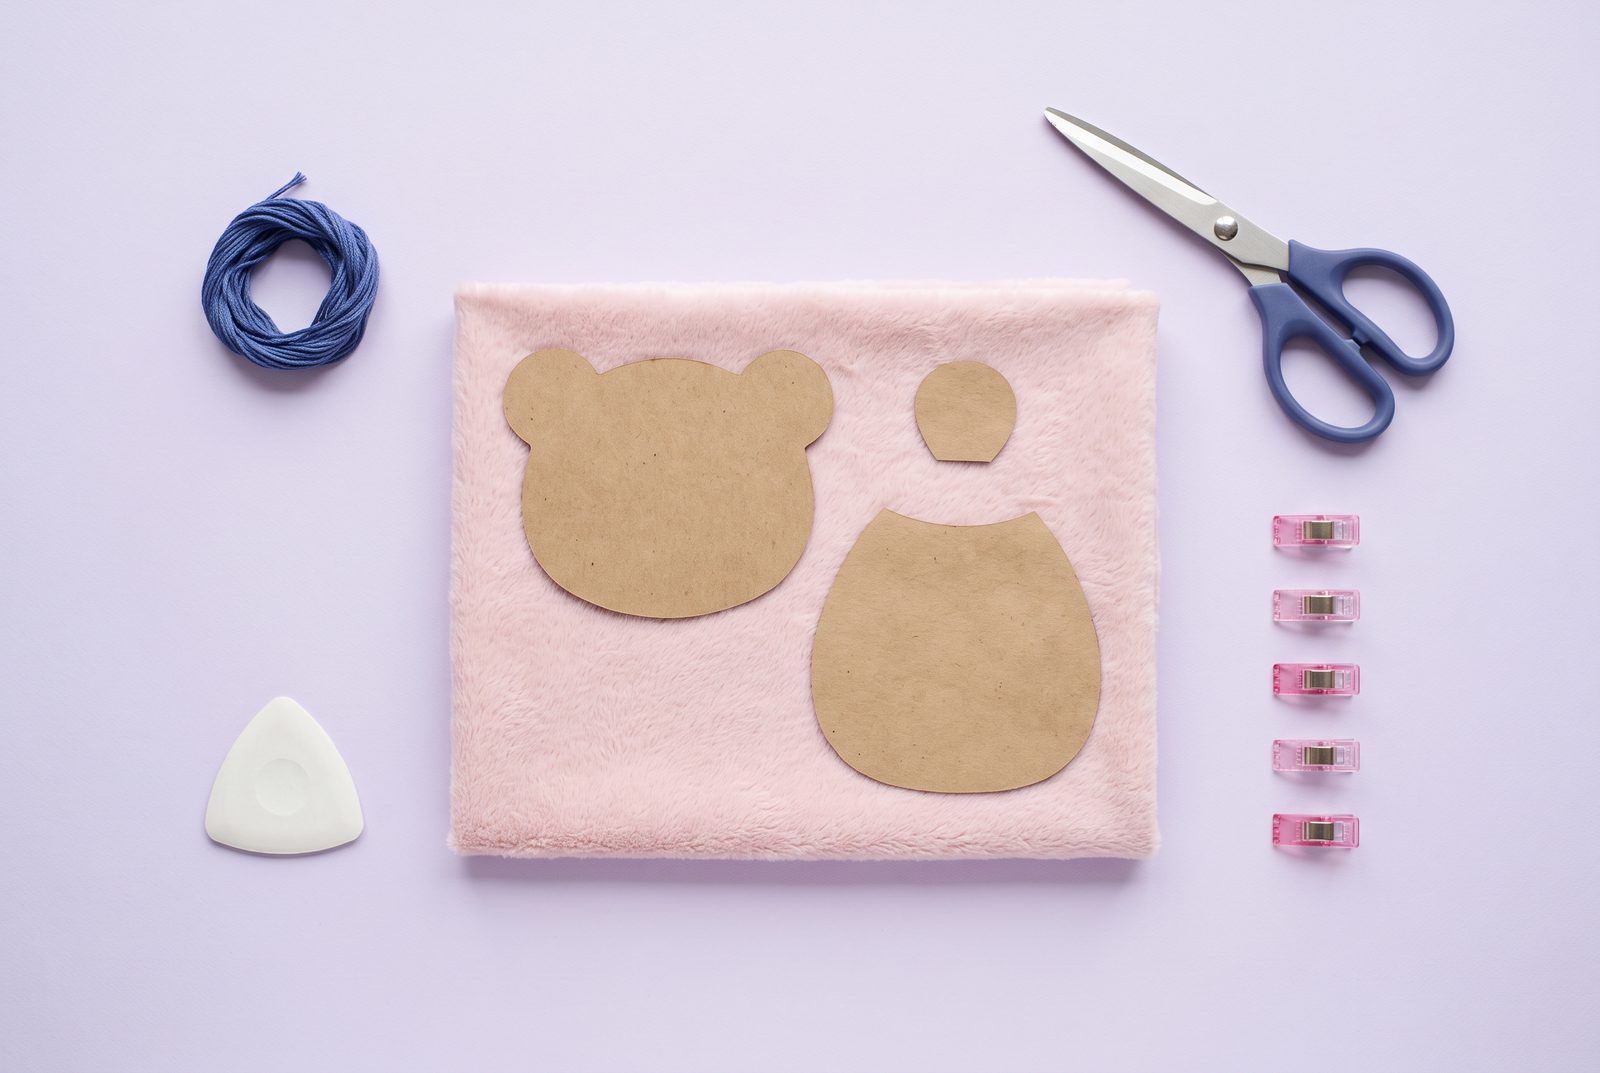
The family sewing box covers nearly everything:
- polyester thread, stronger than cotton thread on seams that pull, and a fine hand-sewing needle;
- fabric clips rather than pins on minky and fur, where pins vanish into the pile;
- tailor’s chalk, dressmaking scissors and a small pointed pair;
- cotton embroidery thread for the face;
- polyester toy stuffing and a chopstick, or the handle of a wooden spoon, to push it in.
A sewing machine speeds up long seams, nothing more. A 20 cm bear sews perfectly well by hand, in backstitch, over an evening or two.
How does a teddy bear pattern work?
A classic 3D teddy pattern has a handful of standard pieces: two side heads and a centre head gusset that runs from the nose to the back of the neck, two body halves, two arms, two legs, four ear pieces and, on bigger bears, two round foot pads and two paw pads in felt. The gusset is what turns a flat face into a snout.
To draw your own, sketch the bear side-on at the size you want, then add a 7 mm to 1 cm seam allowance all round. It is the most common mistake: without it, thin paws disappear. Library books, sewing blogs and craft shops also offer free teddy patterns. Print them at 100%, never “fit to page”, and measure the test square most patterns carry, often 5 cm. A 2 mm error on the square becomes a centimetre on the bear.
Mark three things on every paper piece:
- an arrow for the pile direction, from head to feet;
- small notches where pieces must meet, at the neck and the base of the ears;
- where the gap for turning and stuffing will go.
Trace on the wrong side of the fabric, one piece face up, the next with the paper flipped, to get two mirror pieces. On minky and fur, cut through a single layer: two layers slide over each other.
How do you sew a teddy bear, step by step?
Order matters more than technique: plenty of failed bears had their faces embroidered last.
From cut fabric to closed plush
The face, while flat
Embroider the eyes and snout, or sew felt pieces all the way round, while the head piece is still flat. After assembly it is almost impossible.
The head
Sew the two side heads together under the chin, then ease the gusset in from nose to neck, clipping as you go. Stuff the snout firmly.
Limbs and body
Sew arms, legs and ears in pairs, right sides together, turn them out. Slip them between the body halves, pointing inwards, and sew 7 mm from the edge.
The gap
Leave 5 to 8 cm open on the back or under an arm, along a straight edge: a gap on a curve closes badly.
Clipping
Snip into the seam allowance on curves every centimetre, without cutting the stitching, then turn the plush and push out every tip with the chopstick.
By hand or by machine?
By hand, backstitch is the only stitch that really holds: each stitch goes back into the one before, like a machine seam. Aim for 3 to 4 stitches per centimetre. By machine, set a straight stitch of 2 to 2.5 mm and pivot with the needle down around the ears.
Minky and faux fur: the two traps
Under the machine foot, the top layer of minky creeps faster than the bottom one. Put a clip every 3 cm and sew slowly. Faux fur is cut from the back, with the tips of the scissors or a craft knife, sliding under the pile so that only the backing is cut. Then tease out trapped fibres with a pin.
How do you stuff a teddy bear properly?
Use polyester toy stuffing, which washes and dries quickly. Tease it out between your fingers before pushing it in, in walnut-sized tufts, never in a big ball. Start with the extremities, the snout and the tips of the paws, then work back towards the gap. Fill the head and snout firmly or the bear will end up hanging its head.
Rice, lentils or cherry stones do not belong in a comforter: they cannot be washed and can go mouldy if they get wet. Plastic or glass weighting pellets only go inside an inner pouch sewn twice, and never in a plush meant for a toddler.
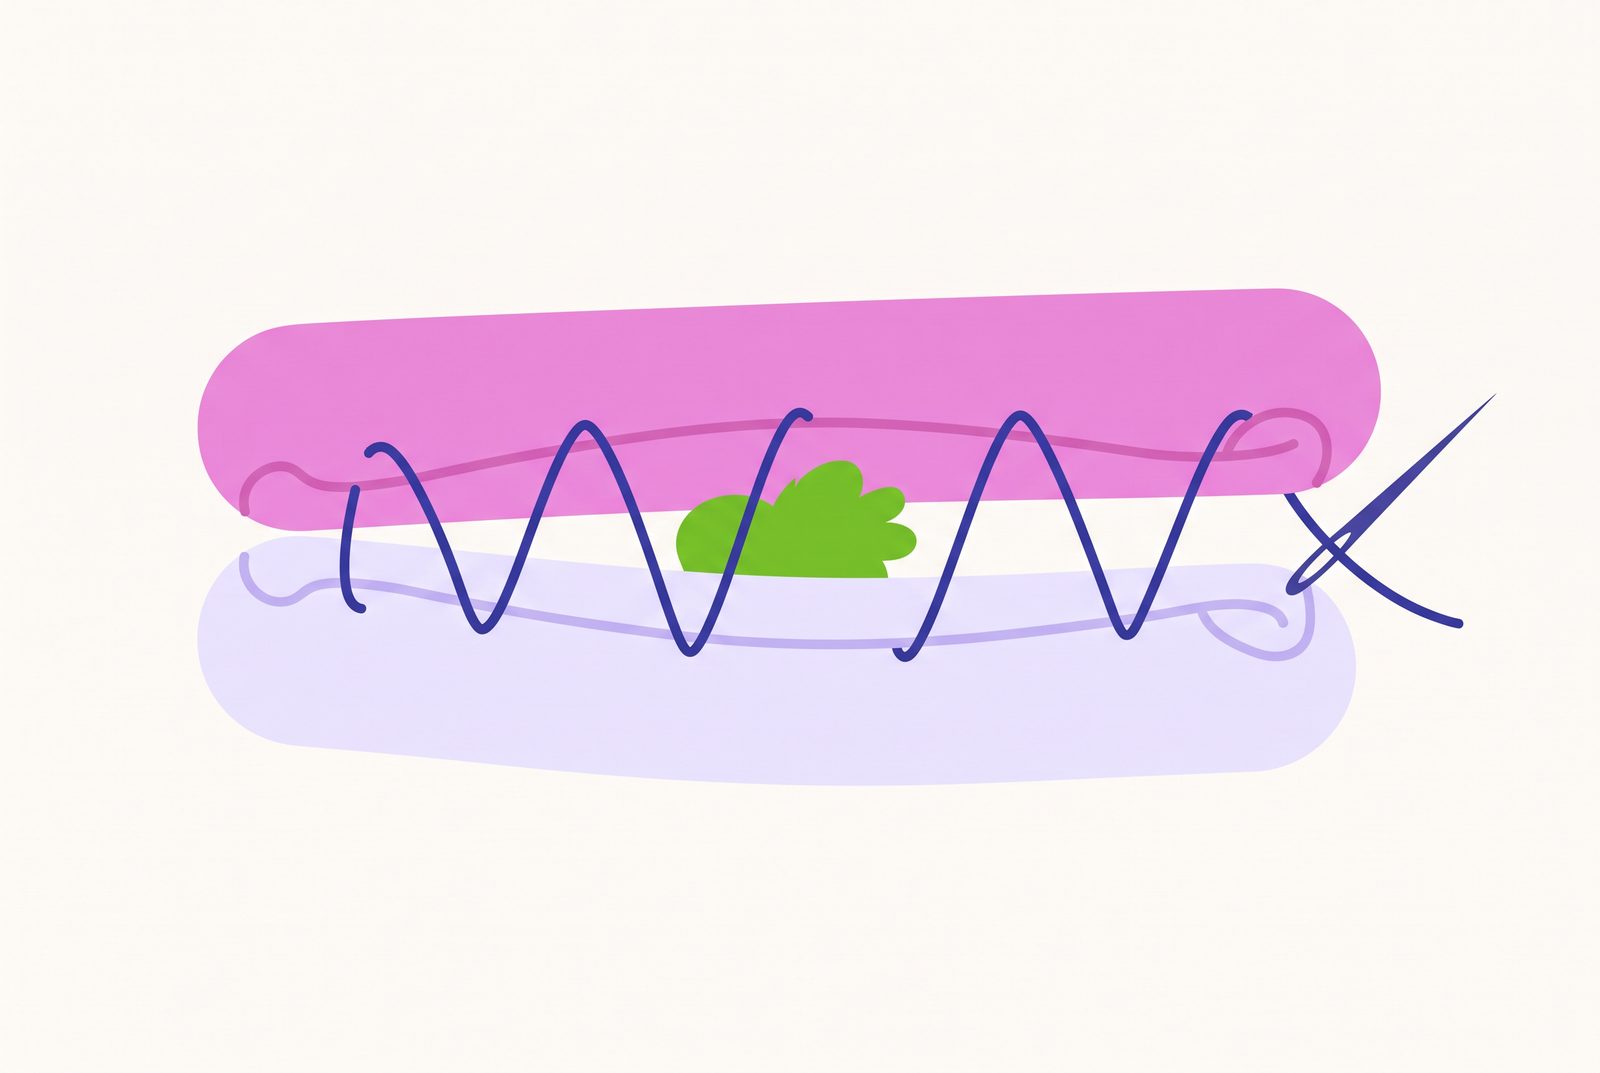
All that remains is to close the gap. Ladder stitch, also called invisible stitch, runs from one fold to the other, inside the turned-in edges. When you pull the thread, the two edges meet and the seam disappears. The same stitch closes a seam that has split later on: our tips on how to repair a stuffed toy show it on a well-loved bear.
How do you make a teddy bear that is safe for a baby?
A handmade comforter has no laboratory testing behind it. Think from the start about what a baby will do with it: chew it, pull it by an ear.
of the 449 children who choked to death on a manufactured object in the United States over 20 years were under 3. And 14 of the 101 objects analysed met the safety standards of the time.
Rimell et al., 1995, JAMA
In other words, even a compliant object can cause trouble: for a homemade comforter, aim for zero small parts. Under 3 years, embroider the eyes and nose in thread, or appliqué felt circles sewn all the way round. No buttons, beads, bells or plastic eyes, not even safety eyes with washers. No ribbon or cord a child could wind round their neck.
Then do the test manufacturers do, in your own way: pull hard on every ear, every arm, every seam. Nothing should move or show the stuffing. Avoid long-pile fur, which comes away in tufts when a baby sucks it, and wash the fabric without fragrance before cutting.
Finally, sleep. For infants, the American Academy of Pediatrics recommends sleeping on the back, on a firm surface, with no soft bedding (Moon et al., 2022). In Ireland, the HSE likewise advises keeping toys and teddies out of a baby’s cot. A bear sewn with love is still a soft object: keep it for awake time, and ask your GP or public health nurse when it can join the bed.
If you sell your bears, even at a craft fair, a Christmas market or a school fundraiser, they become toys in the eyes of the law: EU toy safety rules apply in Ireland, with CE marking and testing against the EN 71 standard. The CCPC publishes guidance for small businesses that sell toys.
Why does a handmade plush mean so much?
We grow attached to what we make. Adults who had built a flat-pack box, folded an origami figure or assembled a brick model valued their amateur creations almost as much as an expert’s. The effect vanished when the object was left unfinished or destroyed (Norton et al., 2012). So choose a model within your reach: a finished flat bear beats an ambitious jointed one forgotten in a drawer.
A child, for their part, bonds with the object, not with its copy. Young children who were led to believe a machine could duplicate their belongings were far less willing to accept a copy of their attachment object than of their favourite toy (Hood and Bloom, 2008). If you sew a comforter, sew two at once, from the same fabric, and rotate them from day one.
Let the child choose the colour and the animal. What that companion means at each age is explored in our article on why a comforter matters. And if knitting needles tempt you more than a sewing machine, see how to knit a teddy bear: knitting gives the same round shapes without any cutting.
Your questions about making a teddy bear
What’s the stuffing inside a teddy bear?
Today it is almost always polyester fibre, sold as toy stuffing: light, springy and washable. Early bears were packed with wood wool, fine shavings of wood, which is why an old teddy crunches when you squeeze it. Some bears also hold a pouch of plastic pellets to make them sit well, never loose and never for a baby.
How do you make a teddy bear without sewing?
With a sock: stuff it, tie off a head and two ears with strong thread, and add felt features with fabric glue. It is a fun rainy-day job with an older child, but glue and knots give way, and nothing may come off a toy meant for a child under 3. For a comforter or a baby’s bear, sew it.
How much fabric do you need for a teddy bear?
A small bear of about 25 cm fits on a piece of 50 cm by 50 cm. A 40 cm bear with separate arms and legs needs about twice that. Buy a little extra for minky or faux fur, since every piece has to be cut with the pile running the same way, from head to feet.
How are teddy bears made in a factory?
The steps are the same as at home, done faster. Pieces are cut from stacked fabric with shaped blades, sewn inside out by machine and turned. Eyes and noses are fitted or embroidered before closing, the stuffing is blown in by machine, and the last seam is usually closed by hand, with a final pull test on eyes and limbs.
Sources
Hood B., Bloom P. (2008). Children prefer certain individuals over perfect duplicates. Cognition, 106(1), 455-462. DOI: 10.1016/j.cognition.2007.01.012
Moon R.Y., Carlin R.F., Hand I., Task Force on Sudden Infant Death Syndrome, Committee on Fetus and Newborn (2022). Sleep-Related Infant Deaths: Updated 2022 Recommendations for Reducing Infant Deaths in the Sleep Environment. Pediatrics, 150(1), e2022057990. DOI: 10.1542/peds.2022-057990
Norton M.I., Mochon D., Ariely D. (2012). The IKEA effect: When labor leads to love. Journal of Consumer Psychology, 22(3), 453-460. DOI: 10.1016/j.jcps.2011.08.002
Rimell F.L., Thome A., Stool S., Reilly J.S., Rider G., Stool D., Wilson C.L. (1995). Characteristics of objects that cause choking in children. JAMA, 274(22), 1763-1766. DOI: 10.1001/jama.1995.03530220029027